Vocal Booth vs Open Room (Is There A Better Option?)
Share
This article gets into the characteristics of two recording environments: the vocal booth and the open room. We will also recommend specific acoustic treatments that can optimize each setting.
Choosing between a vocal booth and an open room will depend on the specific requirements of your recording project. Both environments have their pros and can be greatly enhanced with the right acoustic treatments.
Whether you choose the isolation of a vocal booth or the ambient possibilities of an open room, remember that the right acoustic treatment can elevate your recordings from good to great.
Need help planning your vocal booth? Click below!
Vocal Booth: Precision and Isolation
A vocal booth is a compact, enclosed space that is designed for recording vocals. It's tailored to exclude external noise and minimize room reverberation for a clean, isolated sound.
Shown below, our white fabric was used to construct white acoustic panels for a portable vocal booth used for voice over. Thanks to David Gadow for the picture!

Pros of a Vocal Booth
- Sound Isolation: The enclosed nature blocks out ambient noise and external disturbances, ideal for clear vocal tracks.
- Controlled Acoustics: With proper treatment, you can achieve a very dry recording, free from unwanted echoes or reverberations.
- Consistency: The controlled environment of a vocal booth offers consistent sound for all recordings, crucial for professional projects.
Cons of a Vocal Booth
- Limited Space: The confined space can restrict performer movement and may affect the performance energy.
- Cost of Setup: Effective soundproofing and acoustic treatment in vocal booths can be expensive due to the materials needed and construction.
Vocal Booth Acoustic Treatment
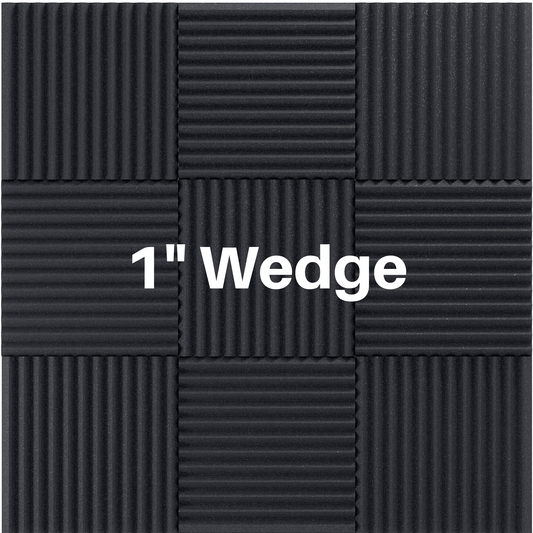
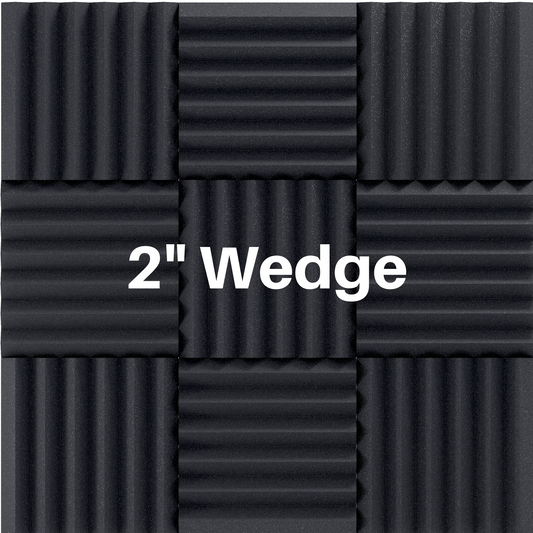
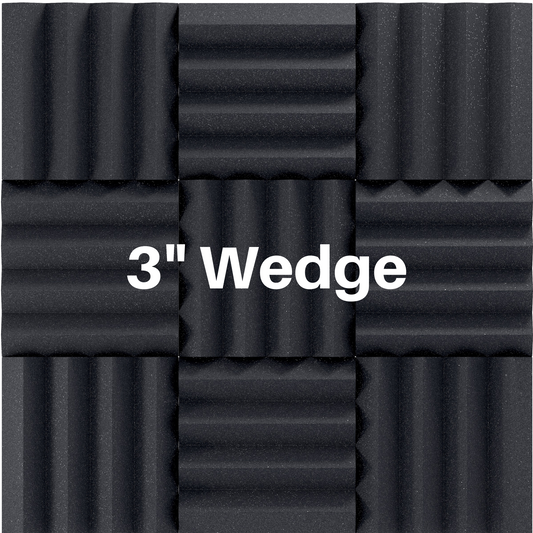
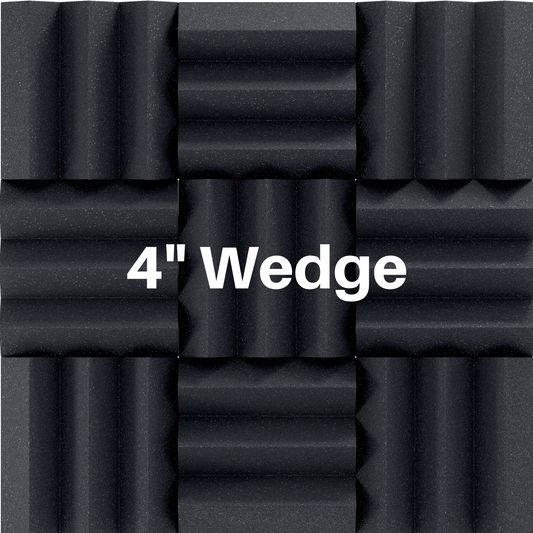
- Acoustic Foam Panels: Install absorption panels on walls and ceiling to absorb first reflections and prevent excess reverberation.
- Bass Traps: Place bass traps in upper corners of the booth to manage low frequencies, avoid muddy sound and to avoid standing waves in the space.
- Door Seals and Soundproofing: Utilize acoustic seals and sweeps for your booth door to block any gaps that might allow sound leakage. Additionally, consider specialized soundproofing materials for the walls and ceiling to ensure complete isolation from external noises.
Room-Within-a-Room Concept
For ultimate sound isolation and acoustic control in a vocal booth, implementing a "room-within-a-room" concept can be highly effective. This design involves constructing a secondary inner structure that is mechanically decoupled from the outer room. The gap between the two structures serves as a buffer zone, greatly reducing the transmission of sound vibrations.
Decoupling: Completely separate the walls and ceiling or utilize resilient sound clips / channels to attach the inner room's walls and ceiling to the outer structure, ensuring there is no direct contact between them. This physical separation helps to break the path of sound waves and vibration transfer.
Mass and Density: Increase the mass of the inner room's walls using dense materials like neoprene, polyethylene, or mass-loaded vinyl (MLV) or multiple layers of drywall. The added mass helps absorb and block sound, preventing it from escaping or entering the booth.
Absorption and Damping: Fill the space between the two walls with acoustic insulation to dampen vibrations and absorb sound. Materials like mineral wool or fiberglass are effective for this purpose, as they trap sound waves within their fibrous structure.
Floating Floor: Consider installing a floating floor system where the floor of the inner room is elevated and isolated from the building's main floor. This can be achieved using special isolation pads or springs, which prevent sound from traveling through the floor.
By creating a room within a room, you maximize the vocal booth's ability to control sound, ensuring that recordings are not only isolated from outside noise but also clear and free of unwanted echoes and reverberations. This construction technique is particularly suitable for professional studios where achieving the highest quality sound is crucial.
Shown below is the inside of a room within a room booth that was constructed inside of a basement for voice over work.

Need a pro to design your perfect vocal booth? We have you covered! Take advantage of our design services and let us make your vision come true!
CLICK HERE to buy our vocal booth design services!
Open Room: Vibrancy and Natural Tone
Recording in an open room uses the space's natural acoustics, which can add a unique character to the sound. This method captures the ambiance of the room, including all the subtle reverberations and reflections.
Pros of an Open Room
- Natural Ambiance: The room's inherent reverb can add richness and depth to the recording, enhancing the overall texture.
- Flexibility in Setup: Larger space allows for varied microphone placements and the recording of multiple musicians or vocalists simultaneously.
- Cost-Effectiveness: Requires fewer specialized constructions than a dedicated vocal booth.
Cons of an Open Room
- Less Control Over Sound: External noises and room dynamics can intrude on the clarity of the recording.
- Variable Acoustics: Without proper treatment, room acoustics can negatively impact the recording quality.
- Need for More Post-Production: Tracks might require a bit more mixing and mastering to achieve the desired sound.
Open Room Treatment Recommendations For Recording Vocals
- Diffuser Panels: Install our wooden diffuser panels to scatter sound evenly, reducing focal points of sound and creating a balanced acoustic environment. Diffusers will treat first reflections but leave more of a liveliness in the room. These are often used in combination with acoustical absorption.
- Acoustic Absorption Panels: Use acoustic panels at the reflection points in the room. You can also create movable panels to experiment with different acoustic settings and tailor the room's sound according to recording needs.
- Area Rugs and Carpets: Utilize rugs and carpets to manage floor reflections and soften the sound.
Steps For Setting Up An Open Room To Record Vocals
Here’s some steps to setting up an open room to be used for vocal recordings.
1. Install Acoustic Treatment Panels
-
Identify Key Areas: Start by locating the reflection points around the microphone and the vocalist. You will want to make sure all the reflection points are covered, and you will want to space out treatment throughout the rest of the room for best results.

-
Mount Absorption Panels: Attach acoustic absorption panels at these critical reflection points. These panels are crucial for capturing and dampening sound waves, reducing echo and ensuring clear vocal recordings. Place them on walls directly opposite and adjacent to the microphone and the vocalist's standing area, as well as on the ceiling if necessary.
-
Consider Adding Diffusers: If you want to maintain some natural liveliness and prevent the room from sounding too "dead," integrate wooden diffuser panels along with the absorption panels. Position diffusers on the walls not completely covered by absorption panels, particularly in areas that still reflect sound but where you wish to preserve some ambiance. This can help scatter the sound waves, reducing harshness while keeping the room’s acoustic lively.
2. Lay Down Area Rugs and Carpets
- Select Appropriate Rugs: Choose soft and fluffy rugs or carpets that effectively absorb sound.
-
Positioning: Place the rug primarily under the microphone to maximize sound absorption where it's most needed. Extend the rug outward to cover the area between the microphone and the vocalist.
Need more help? Don't worry, we are here for you!
Full line of acoustic foam!
Check out more acoustic foam panels and corner solutions!
