Home Recording Studio For Beginners: How to Get Great Sounding Audio on a Budget
Share
Do you want to get studio quality recordings at home, without spending a fortune? It is definitely possible! In this blog post, we will cover the basics of how to get great sounding audio on a budget.
We'll discuss room treatment and the best equipment to use in order to achieve studio-like recordings in your own home. Follow these tips, and you'll be well on your way to creating pro-quality recordings without leaving your living room!
Home Studio Room Treatment
Room treatment is one of the most important (and often overlooked) aspects of getting great sounding audio at home. Without proper room treatment, your recordings will suffer from reflections and echo, which can muddle the sound and make it difficult to achieve a clear and professional recording.
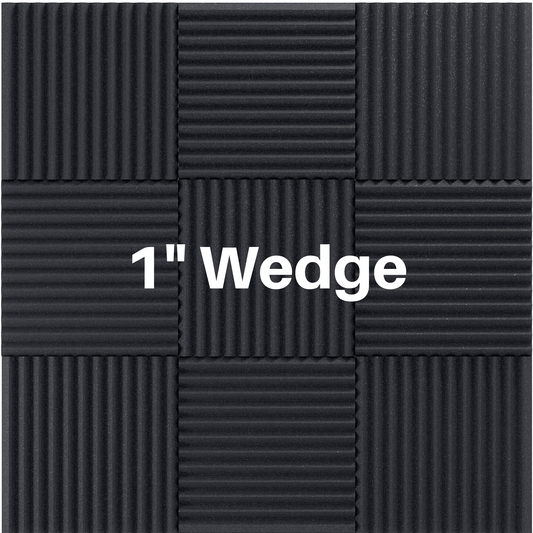
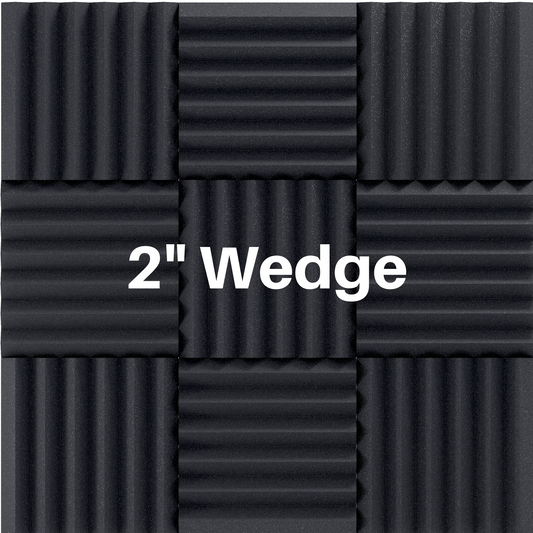
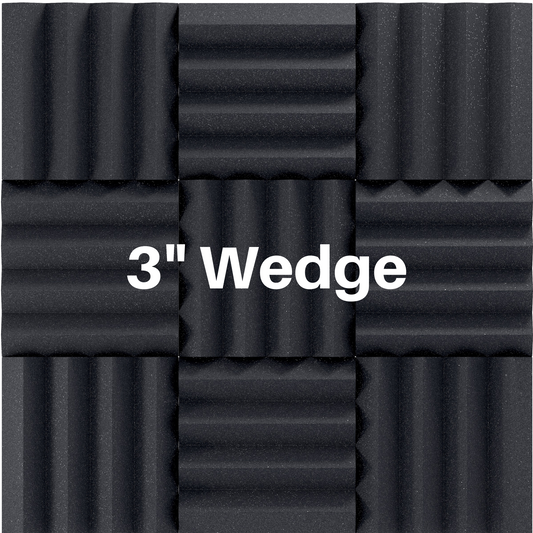
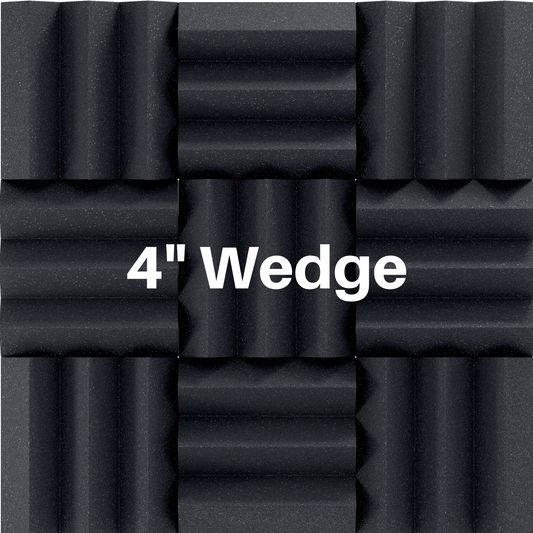
There are a few simple things you can do to treat your room, such as hanging blankets or towels on the walls, to help absorb sound and reduce reflections. Moving blankets or comforters work well if you have little to no budget. If you have a little bit of cash you can use acoustic foam, or you can make DIY acoustic panels.
Check out this simple home recording studio setup that was completed in a spare bedroom.
In addition, you'll want to make sure that your recording space is free of clutter and any other objects that could cause unwanted noise in your recordings. This can include things like noisy fans or even a small fish tank. You will also want to make sure your HVAC systems are turned off when recording because they can cause background noise.
By taking the time to treat your room properly, you'll be able to achieve much better sounding audio.
If you aren't sure about acoustic treatment, and want to skip the headache of trying to figure it out yourself, fill out our room analysis and let us do the work for you! You can also schedule a call to talk with one of our acoustic professionals!
You can also check out some of our room design ideas.
Home Recording Equipment
Now that you've addressed the issue of room treatment, let's talk about equipment. You don't need to have the most expensive gear to get great sounding recordings, but there are a few key pieces of equipment that will make a big difference.
First, you'll need a good quality microphone. This is perhaps the most important piece of equipment, as it is the source of your audio. There are a lot of great microphones on the market, so do your research and find one that suits your needs.
You can either go with a large diaphragm condenser (LDC) or a dynamic mic. A large diaphragm condenser mic is commonly used for vocals in professional studios because they have a good frequency response, can pick up the low ends and are very sensitive in their ability to pick up sounds. A condenser microphone will require phantom power. Dynamic mics are a bit more rugged than condensers but do not have as good of a frequency response.
- Condenser Mic - MXL 440
- Dynamic Mic - Shure SM7B
The Shure SM7B is not necessarily a budget mic but definitely one you will have forever if you can afford the investment.
Next, you'll need an audio interface. This is what allows you to connect your microphone to your computer. Audio interfaces vary in price, but you can get a good quality interface for under $200.
If you are using a computer then you will need an audio interface, which is a device that you can plug microphones, instruments and midi devices into, and then the device transfers that information into your computer.
Some solid choices for an audio interface are:
Finally, you'll need a set of studio monitors or headphones. This is so you can hear what you're recording clearly. Again, there are a lot of great options on the market, so do your research and find something that suits your needs and budget.
Some good budget monitors that we recommend are:
Acoustic treatment is very important if you have studio monitors. Check out our post on Reflection Free Zones to make sure you set up your room correctly.
Headphones and monitors are used to listen back and mix the tracks. You don’t need both so beginners can start out with just a pair of monitoring headphones. You want to choose a pair with a flat frequency response and avoid headphones with bass boost or enhanced audio.
Some studio headphones that we recommend are:
By following these tips, you'll be well on your way to getting great sounding audio at home without breaking the bank!
Do you have any tips for getting studio quality recordings at home? Share them with us in the comments below! Happy recording!
