How To Hang Acoustic Foam
Share
Acoustic foam can be mounted using a few different techniques depending on the surface they will be installed. Spray adhesive is one of the most popular methods of installing foam panels but it is far from the only effective way to get the foam up in your room and looking good.
For drywall and smooth surfaces:
- Spray adhesive: 3M general purpose 45 or Loctite general purpose spray adhesive
- Strong double sided tape: Adhesive Squares or Gorilla Mounting Tape
- Push pins: longer T shaped pins work great
- 3M Command Strips
For concrete and textured surfaces:
- Construction adhesive: Liquid nails
Mounting Acoustic Foam With Minimal Damage:
If you are renting and do not want to leave the walls with residue from adhesive or holes from push pins then your best bet would be the 3M command strips for hanging pictures. These can be peeled off without leaving residue behind on the wall.
Another cool technique is to mount the acoustic foam to a piece of plywood, thick cardboard, coroplast, or white boards with adhesive. Then, rest or hang the assembled panel on the wall. This not only saves your walls but it also gives you the freedom to move the panels around for sound testing or take them with you when you move.

Installing Acoustic Foam With Minimum Damage (Coroplast Hack)
Installing Acoustic Foam With Spray Adhesive
NOTE: Do not install foam with spray adhesive on textured surfaces or wallpaper. If you want to mount acoustic foam in a room with these features we recommend mounting the acoustic foam to a plywood board or thick cardboard using adhesive then you can mount the assembled panels where desired.
- Mark the foam panel position on your wall with pencil or masking tape.
- Clean the wall surface with isopropyl or denatured alcohol. Wipe the area with a clean rag or paper towel and let dry. Avoid common cleaners because their ingredients may reduce the strength of your bond.
- Assemble a spraying area with cloths, newspaper, or painters plastic to protect your room.
- When installing keep the room temperature around 70° F (21° C) for best adhesive performance
- Generously apply adhesive to the back of the acoustic foam. Also, apply some adhesive to the mounting area.
- Give 10 to 15 seconds for the adhesive to become sticky.
- Delicately place acoustic foam against the adhesive coated mounting spot. Then, apply hard pressure for at least 30 seconds.
- Make sure the room temperature stays around 70° F (21° C) for a couple days following mounting for curing.
Installing Acoustic Foam With Adhesive Squares
- Mark the foam panel position on your wall with pencil or masking tape.
- Clean the wall surface with isopropyl or denatured alcohol. Wipe the area with a clean rag or paper towel and let dry. Avoid common cleaners because their ingredients may reduce the strength of your bond.
- Remove one of the paper liners from the adhesive square.
-
Apply the squares on the rear of the panel near the outside edges. See diagrams below.
-
Apply very hard pressure for at least 30 seconds to make sure the adhesive squares form a strong bond with the acoustic foam.
-
Take off the second paper liner from the back side of the adhesive square. Mount the panel in desired location and press firmly for at least 30 seconds.
Recommended number of adhesive squares per panel:
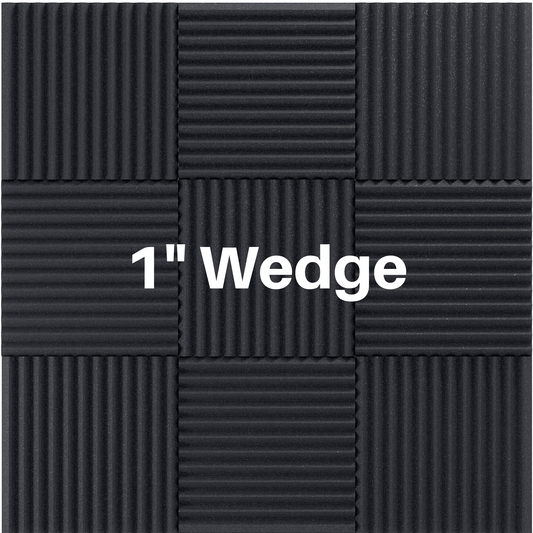
- 1 inch = 2 adhesive squares
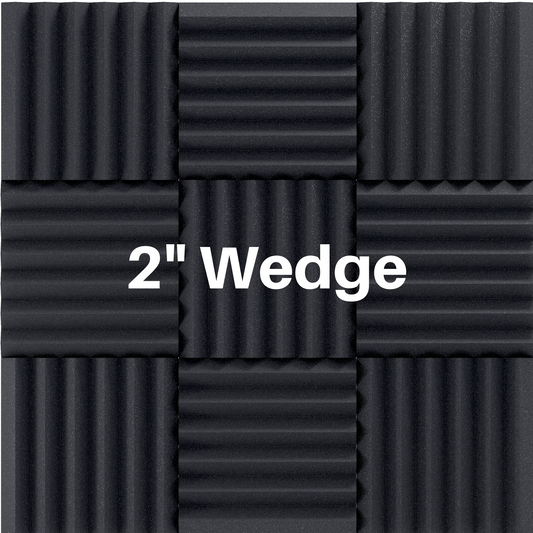
- 2 inch = 3 adhesive squares
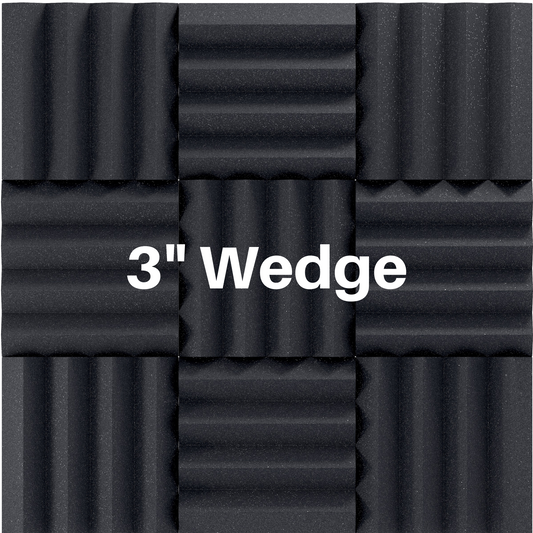
- 3 inch = 4 adhesive squares
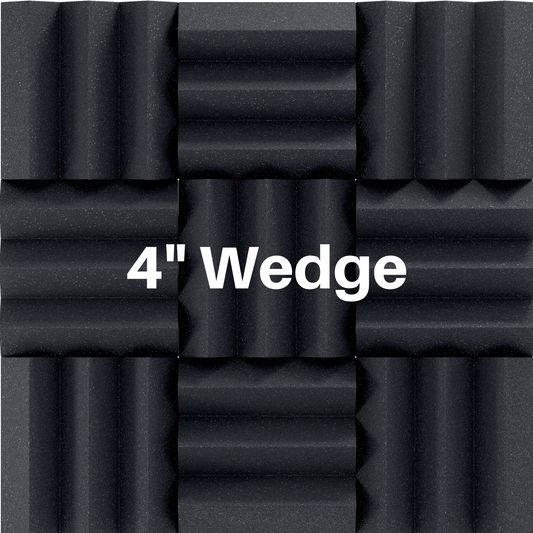
- 4 inch = 4 adhesive squares


Check out some of our customer installations!
Click Here to SHOP Acoustic Foam
Read more:
Acoustic Treatment For Home Recording Studios - Multiple Design Ideas
Home Theater Acoustic Treatment - DIY Video Instructions


2 comments
Hi Suzie, a local drywall company would be able to help you install the acoustic foam. You could also look up local wall covering companies or even a handyman. Good luck :)
Wow, didn’t think there was this much to it. What kind of company would you hire to do this for you? I was thinking of our local Drywall company, http://prodrywallrepairomaha.com but I don’t know. Either way, this would be a really cool thing for our studio