Do I Need Soundproofing in My Home Recording Studio?
Share
One of the most common questions for people setting up a home studio is, “Do I need soundproofing?” This question often gets mixed up with acoustic treatment. The two are actually pretty different, but it’s easy to see why they get confused. Let’s break it down so you can figure out what’s best for your space!
Soundproofing vs. Acoustic Treatment in a Home Studio
| Feature | Soundproofing |
Acoustic Treatment
|
| Purpose | Blocks sound from coming in or going out |
Improves sound quality inside the room
|
| Materials | Dense, heavy materials like MLV, drywall, insulation |
Soft, porous materials like foam or rockwool
|
| Techniques | Adding layers, sealing gaps, isolating walls |
Placing panels, bass traps, and diffusers
|
| Use Cases | Privacy, noise control between rooms |
Better clarity and quality inside the room
|
What Is Soundproofing?
Soundproofing is all about blocking sound. If you’re soundproofing your studio, you’re trying to keep outside noise from getting in (like traffic, neighbors, or household sounds). Plus you want to stop your studio sound from leaking out (so you don’t disturb the rest of the house or your neighbor).
Soundproofing uses heavy materials and special construction techniques to stop sound from traveling in or out of a room. This can be a big project and can require construction and renovation.
Common Soundproofing Techniques
Mass Loaded Vinyl (MLV): A dense, heavy material that can be added to walls or under floors to block sound.
Extra Layers or Double Walls: Building thicker or double walls to create a sound barrier.

Sealing Gaps: Using door sweeps, weather stripping, and caulking to seal gaps around doors and windows where sound could escape.
Soundproof Windows: Installing double-paned or soundproof windows to block outside noise.
When You Need Soundproofing in a Home Studio
- If you have noisy neighbors or live in a loud area and want to keep external sounds out.
- If you’re in an apartment or share walls with other rooms and don’t want your music or vocals to bother others.
- If you’re recording sensitive sounds or want total control over the noise level inside your studio.
What Is Acoustic Treatment?
While soundproofing keeps sound in or out, acoustic treatment is about improving the sound inside your studio. Acoustic treatment doesn’t stop sound from leaving or entering; instead, it makes your recordings sound better by reducing echo, reverb, and uneven frequency response.
Think of acoustic treatment kind of like tuning the “shape” of sound inside your room. It helps make your music sound clearer and more balanced so you can actually hear the details in your recordings.
Common Acoustic Treatment Types
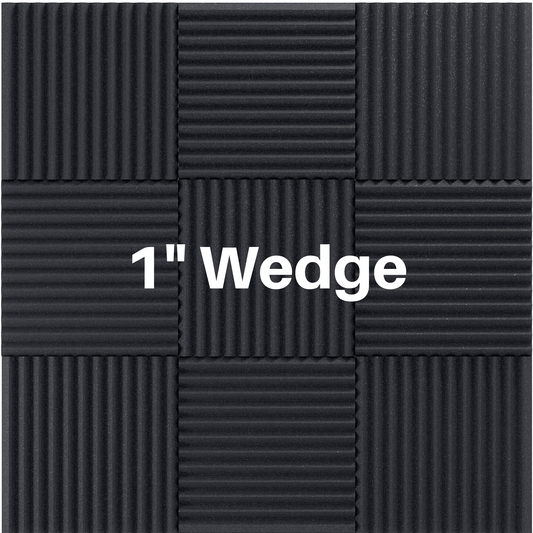
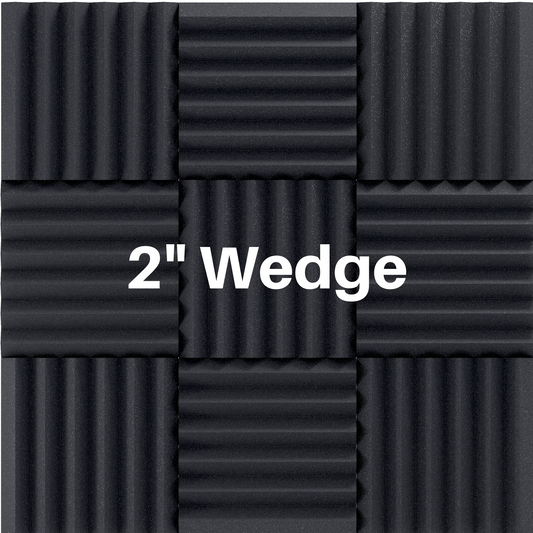
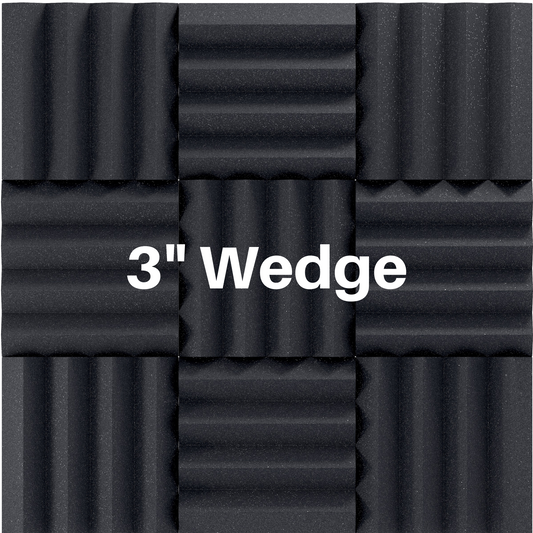
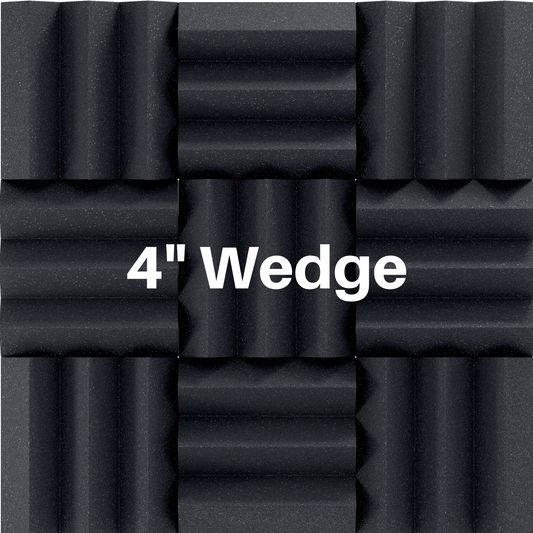
Acoustic Panels: These soft, foam or fabric-covered panels absorb mid and high frequencies, reducing echo and reverb.
Bass Traps: These go in the corners of the room to control low frequencies (bass), which can build up in small rooms and make recordings sound “boomy.”

Diffusers: Instead of absorbing sound, diffusers scatter sound waves around the room, giving it a more balanced, natural sound.
When You Need Acoustic Treatment in a Home Studio
- If you want clean, clear recordings with minimal echo or reverb.
- If you’re mixing music or need to hear details accurately in your audio.
- If your room sounds “boomy” or “echoey” and it’s hard to get a balanced sound.
Do You Really Need Soundproofing?
Most home studios can benefit more from acoustic treatment than soundproofing. Soundproofing can be expensive and time-consuming, and it’s not always necessary unless noise control is a big issue. But almost every home studio benefits from acoustic treatment to improve sound quality.
Also, soundproofing can get expensive because it often involves modifying walls, floors, ceilings, and even windows. For true soundproofing, you’re looking at materials like dense mass-loaded vinyl (MLV), extra drywall layers, and professional-grade seals on doors and windows. These solutions can easily add up, and if you’re renting or on a tight budget, full soundproofing might not be practical.
If you’re serious about soundproofing, it’s best to plan and do it before you set up any acoustic treatment. Soundproofing usually involves construction and installation that can disturb your acoustic panels or bass traps. It makes more sense to build in soundproofing first and then add the acoustic treatment next.
But what if you need soundproofing but cannot justify the price, or cannot do construction because you are renting?
Soundproofing Workarounds for Home Studios
Record During Quiet Times
Try recording early in the morning, late at night, or at other times when your environment is quieter. This can be a simple but effective solution if your main concern is external noise.
Add Heavy Curtains or Blankets
Hanging heavy curtains, moving blankets, or even thick rugs over windows and doors can help reduce noise leakage. While not as effective as full soundproofing, these materials can absorb and block some sound, especially higher frequencies.
Seal Gaps Around Doors and Windows
Gaps are sneaky sound leak points. Use weather stripping around windows and door frames, and add door sweeps to close the gap under the door. It’s an inexpensive way to improve sound isolation without major construction.
Use a Thick Door or Add a Soundproof Door Panel
Doors are often thin, so if you can, install a solid-core door or add a soundproof door panel. This helps block sound from leaking through one of the thinnest barriers in most rooms.
DIY Baffles or Sound Barriers
You can create baffles or sound barriers using items like thick foam or wood boards with insulation. Place them against shared walls to help absorb and block some sound from leaking out or getting in.
Set Up a Recording Booth
For those really sensitive recordings, consider setting up a small recording booth with heavy blankets or acoustic panels. This “room within a room” approach can minimize external noise and provide an isolated recording space without fully soundproofing the entire studio.
In the image below you can see David Gadow built his own Voice Over Booth using our acoustical fabric, PVC, and moving blankets.

Choosing a Home Studio Space: What to Look For to Avoid Needing Soundproofing
If you’re setting up a home studio and want to avoid the pain and cost of soundproofing, it’s smart to choose a room that naturally reduces outside noise and minimizes sound leakage. Here’s some things to look for if you’re renting or buying a house, condo, or apartment to help you pick a room that’s less likely to need soundproofing.
Look for a Room with Few Shared Walls
Rooms with fewer shared walls—especially with neighbors or high-traffic parts of your home—will reduce the need for soundproofing. Choose a room that shares walls with closets, storage spaces, or unused rooms. This helps keep your sound contained without disturbing others and prevents outside noise from creeping in.
Pick an Interior Room
Interior rooms are naturally more insulated from external noise than rooms that border the outside of the building. Rooms toward the center of a house or apartment, surrounded by other rooms, are usually quieter and are less affected by traffic or outdoor sounds.
Avoid Rooms with Large Windows or Thin Walls
Large windows can let in a lot of outside noise, and thin walls are less effective at containing sound. Test the walls by knocking on them to gauge thickness. Rooms without large windows or with thick, insulated walls will keep external noise out and internal noise in.
Higher Floors Are Quieter
If you’re in a condo or apartment, higher floors tend to be quieter. They are further from street noise and neighbors walking above you. If possible, choose a top-floor unit or a higher level to avoid noise from units above.
Check for Soundproof-Friendly Features
Some rooms naturally have soundproof-friendly features, like dense walls, double-paned windows, or even bookshelves on shared walls, which can absorb and block sound. A room with thick carpeting, heavy doors, or built-in shelves will absorb more sound than rooms with bare floors or hollow doors.
Consider Basement Rooms
Basement rooms can be great for home studios because they’re usually further from neighbors and exterior walls. Basements tend to have thicker walls and are often insulated by surrounding earth, which can reduce the need for additional soundproofing.
Pay Attention to Noise from Utilities and Appliances
Avoid rooms close to noisy appliances like washers, dryers, or HVAC units, as their vibrations and hum can bleed into your recordings. Look for a room that’s a good distance from major appliances or has a solid wall or hallway buffer to keep these sounds out.
Think About Layout and Furniture Placement
Rooms that allow for creative furniture placement can absorb sound naturally. A room where you can place bookshelves, rugs, or couches in key areas will help absorb sound, reducing the need for extensive treatment. Plan to put soft, absorbent items in the room to further reduce echoes without any structural changes.
By keeping these factors in mind, you can choose a home studio space that naturally limits noise problems. This will save you time, money, and effort on soundproofing, allowing you to focus on enhancing the sound quality with simpler acoustic treatments.
Need Help With Your Room Treatment?
Check out our FREE resources below!


